DotP 2014: Tutorial on Animated Card Images
Contents |
Download Windows Movie Maker
- Download Windows Movie Maker. Install it by running the setup program and following the instructions. If you already have software that can generate suitable movies from still images, then adjust the remaining instructions where appropriate.
Create An Animated Image
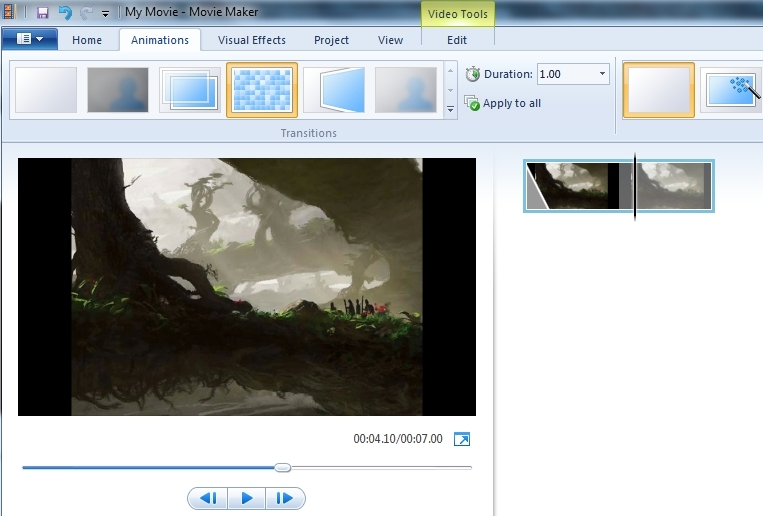
- Windows Movie Maker has some nice animated transitions, such as zooming and panning, that emulate the Ken Burns effect that most of the existing animated cards have. Start the program and drag your original card image into the main timeline area, the middle-right side of the window.
- Select the "Animations" or "Visual Effects" tab and double-click one or more filters you'd like to use. For this example, I have selected "Pixelize":
 (YouTube example: http://youtu.be/OroBpn55YJs)
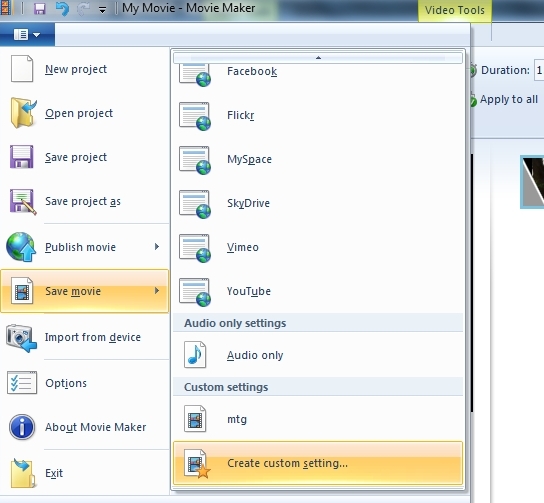
- To export the animation into a suitable movie format, we need to setup a custom profile. Click the menu button in the corner, then select "Save Movie" and scroll down to select "Create Custom Setting" down at the bottom of the menu.
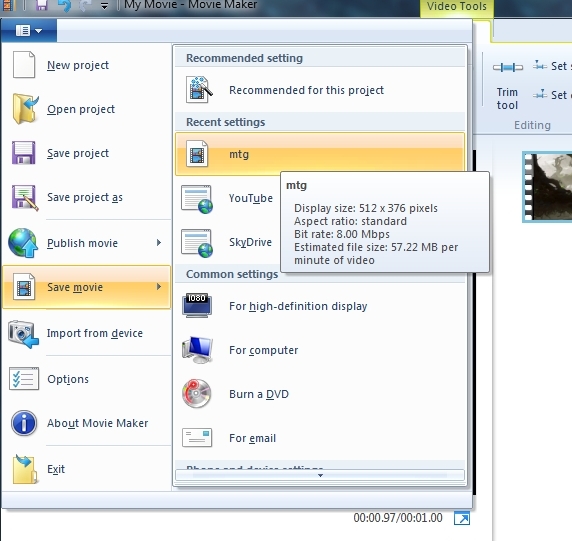
- For the custom settings, select dimensions of 512*376 with 30fps and no audio, as pictured:
 Save the new setting so that it can be used in the future.
- Now, bring up the save movie dialog by clicking the blue menu button, selecting "Save Movie", and choosing the custom profile previously created.
- Save the file somewhere convenient, ensuring that the file-type is set to wmv.


Download RAD Game Tools
- Download RAD Game Tools. Install it by running the setup program and following the instructions.
Convert Your Image to Bink Format
- Open the RAD Tools and navigate to the directory where Windows Movie Maker saved its output.
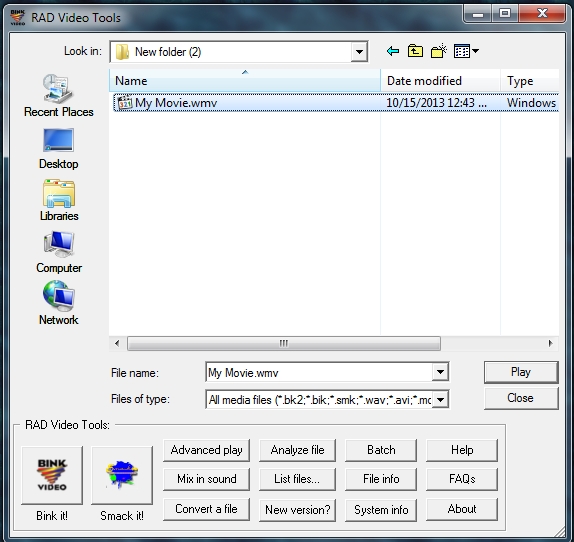
- Select the movie and press the "Bink It!" button.
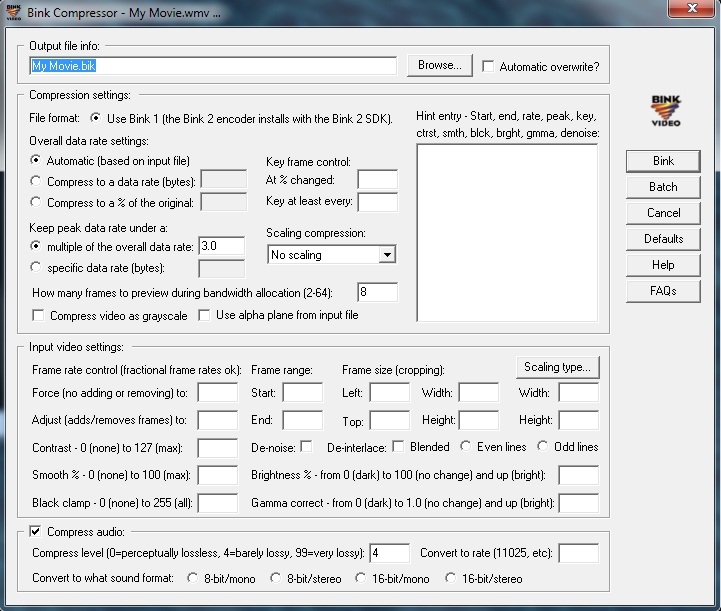
- Review the options - defaults are fine for most - and press the "Bink" button.


Integrate BIK File With Wad
- Copy the .bik file to the appropriate location within your .wad structure: "\DATA_DLC_XXX\DATA_DLC_XXX\DATA_ALL_PLATFORMS\ART_ASSETS\ANIMATED_ILLUSTRATIONS"


Update The Card XML
- Add a tag to your XML card file, including the proper filename: "<ANIMATEDARTFILENAME primary_animation="286190417_ani.bik" />"


Business as Usual
- Repack your .wad as usual, and your card should now have a brilliant animation!